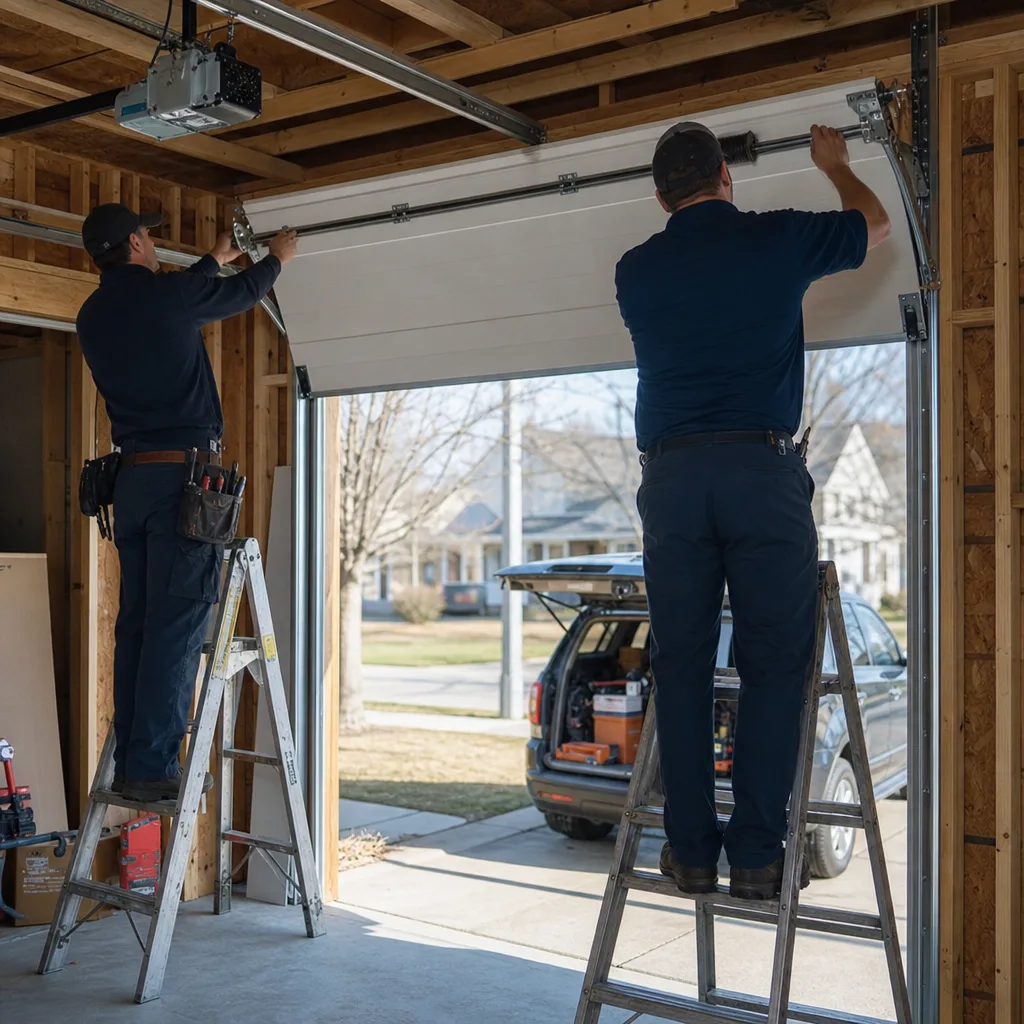
Last updated November 20, 2026
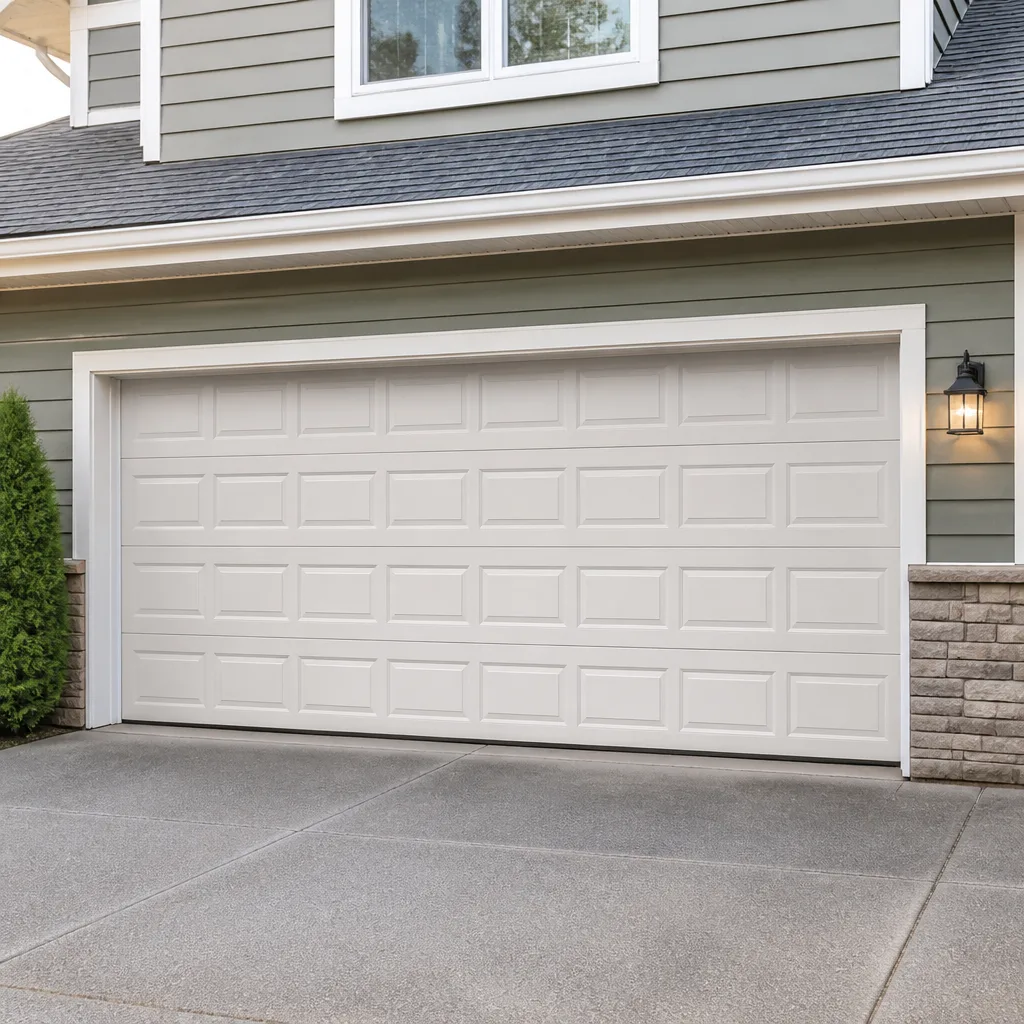 Raised-panel steel
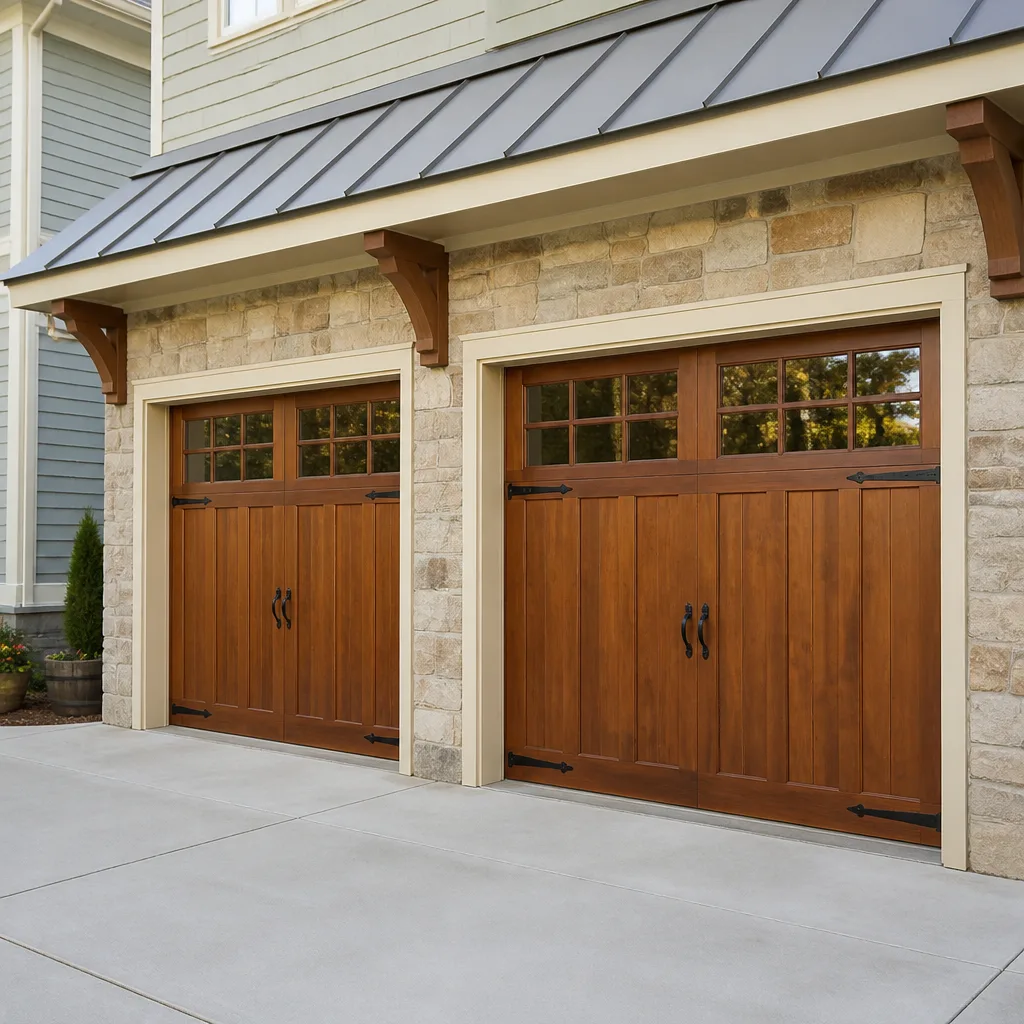 Carriage house
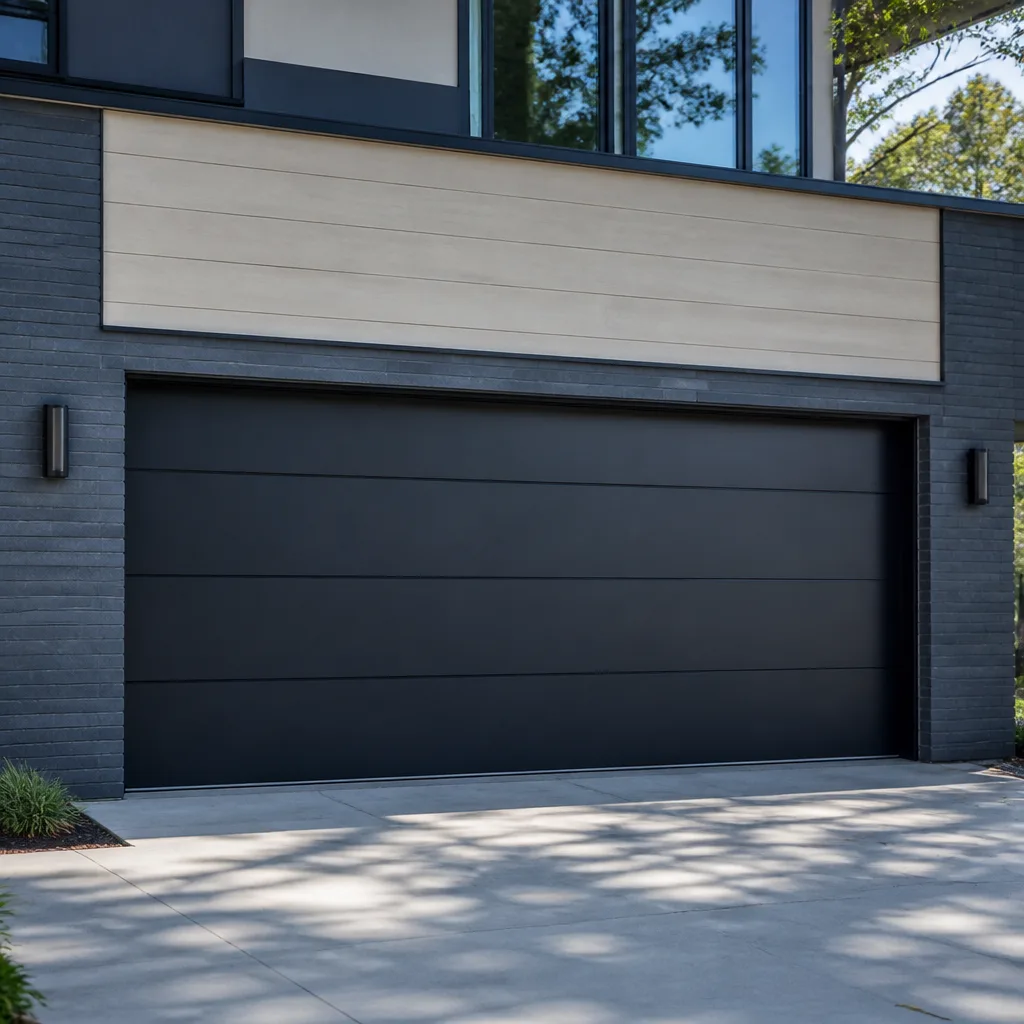 Modern flush
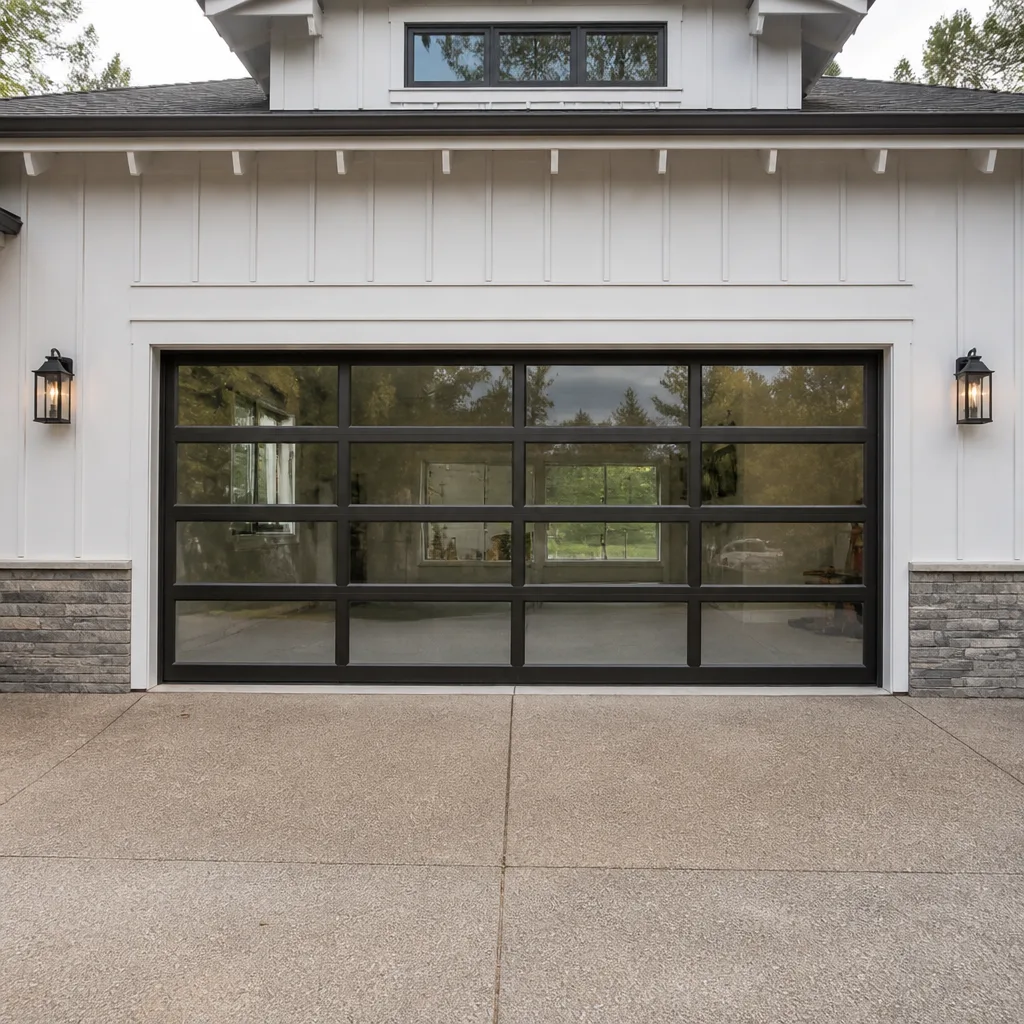 Full-view glass
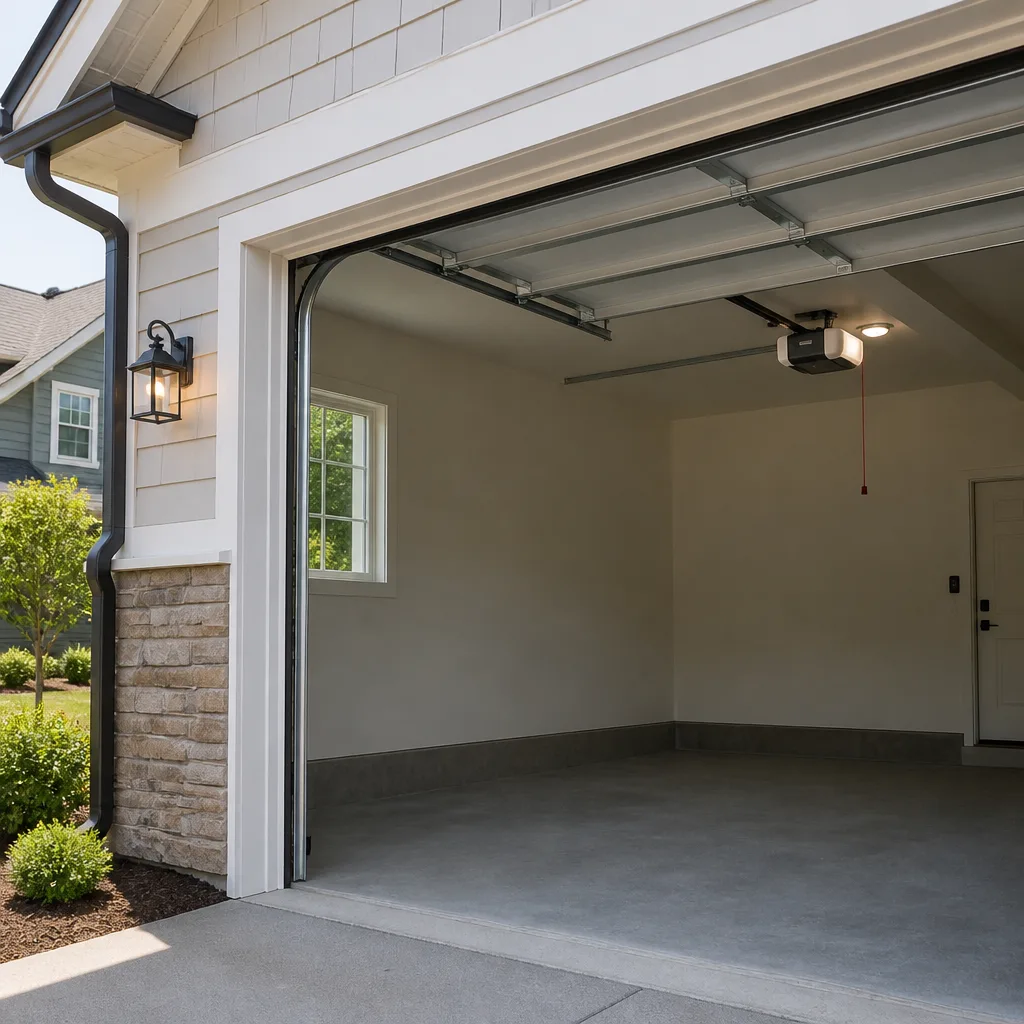 LiftMaster openers
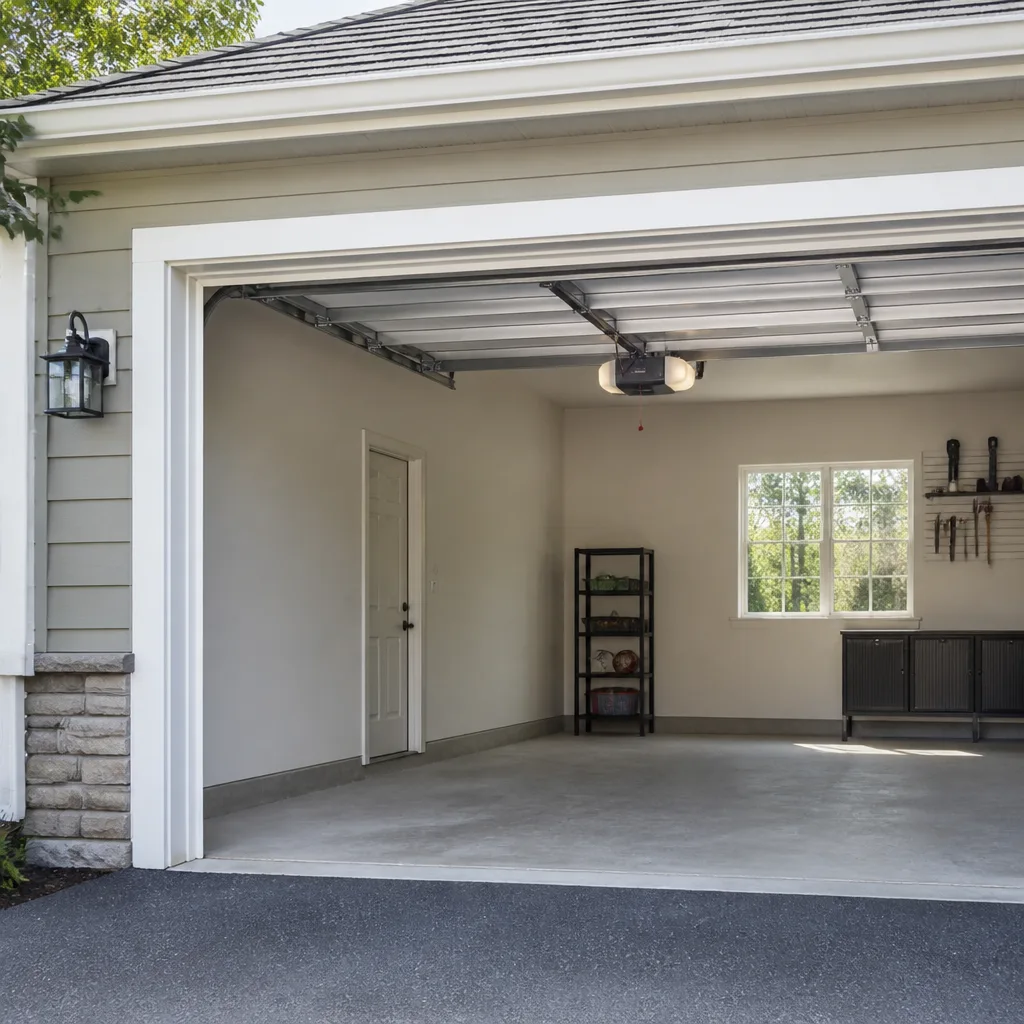 Chamberlain openers
Full 25-point door and opener safety check with every visit - springs, cables, rollers, tracks, and your LiftMaster or Chamberlain opener included
You get a price before we start. It does not change when the pro arrives.
Get your free estimateGarage Door Repair Troubleshooting in Fountain Square: Common Problems and How to Fix Them
The internet will tell you a grinding noise means you need new rollers. Sometimes that’s true. But the same noise from a Fountain Square garage with a 10-year-old torsion spring means you’ve got about 30 days before that spring snaps, and rollers have nothing to do with it. That gap between the symptom and the real cause is where most troubleshooting goes wrong. This guide maps symptoms to root causes the way a technician actually thinks: not by part name, but by failure pattern. You’ll learn the six mechanical categories behind nearly every garage door problem, which ones you can safely handle, and the exact moments to put down the tools before a small fix turns into an expensive repair.
Quick Answer
Most garage door problems in Fountain Square fall into one of six categories: movement failures, noise failures, opener communication failures, balance failures, safety-sensor failures, and weather-related false symptoms. Identify the category first, then run the matching test. Springs, cables, and high-voltage opener wiring are never homeowner territory, but track alignment, sensor lenses, and remote batteries usually are.
Styles & brands we work with
- Raised-panel steel
- Carriage house
- Modern flush
- Full-view glass
- LiftMaster openers
- Chamberlain openers
Table of Contents
- The Six Failure Categories That Cover Almost Every Problem
- Why Fountain Square’s Seasonal Swings Mimic Broken Parts
- The Door Reverses Before Closing: Four Causes in Order
- Diagnosing Noise: Grinding, Squealing, and Banging
- The Balance Test and What It Tells You
- Opener Communication Failures: Remote, Wall Button, and Wi-Fi
- Adjustments That Can Void Your Opener Warranty
- The Exact Stop Points Where You Call a Pro
The Six Failure Categories That Cover Almost Every Problem
Before you touch anything, figure out which category your problem lives in. The category tells you what to test first and, just as important, what not to touch. Here’s the diagnostic tree we run in our heads on every call:
- Movement failures. The door won’t go up, won’t go down, or stops halfway. First test: watch the door for ten seconds with the opener disconnected (pull the red release cord). Does it move freely by hand?
- Noise failures. Grinding, squealing, popping, or banging. First test: listen for where the sound originates. Track, roller, hinge, or above the door?
- Opener communication failures. The door works from the wall button but not the remote, or vice versa. First test: does the wall button still operate the door?
- Balance failures. The door feels heavy or slams down. First test: the half-open balance test covered below.
- Safety-sensor failures. The door starts down then reverses. First test: inspect both sensor lenses for obstruction and alignment.
- Weather-related false symptoms. A problem that appears with a temperature change and fades later. First test: check whether the symptom tracks with the thermometer.
Each category has a different first test, and running the wrong test wastes time and sometimes causes damage. A movement failure is not a sensor problem, and a noise failure is rarely an opener problem. When you call for Garage Door Repair Fountain Square, telling us the category you’ve narrowed it to speeds up the diagnosis considerably.
One more thing: category six is the one homeowners miss most often. A door that “binds” only on cold mornings isn’t necessarily broken. Metal contracts in the cold, and a track that’s a millimeter out of alignment in July can rub in January. If the symptom comes and goes with the seasons, note that before you call.
Why Fountain Square’s Seasonal Swings Mimic Broken Parts
Fountain Square sits in central Indiana, where summer humidity and winter cold swing the garage environment hard. Those swings do real things to garage door hardware, and the results look like failures when they aren’t.
Steel tracks expand in the heat and contract in the cold. A track that’s slightly loose at the bracket can shift enough with temperature to make rollers drag on cold mornings and run clean by afternoon. Wood door panels absorb humidity in summer and swell; in a dry winter the same panel shrinks and the door sits slightly differently in the frame. Torsion springs lose tension as temperatures drop, which is why a door that balanced fine in October feels heavy in January. None of those are broken parts. They’re the building and hardware reacting to weather.
- Cold-morning stiffness that fades by noon usually means track movement or a spring near the end of its tension range, not a failed spring.
- Summer swelling on wood doors can make a door rub the frame in July and clear itself by fall. If your door is wood, check the frame gap in both seasons before assuming a track repair.
- Popping sounds on the first cold snap often come from a hinge or bracket that has loosened slightly. The metal shifts as it contracts, and the pop is the sound of it settling.
- Humidity-driven roller drag shows up as a door that runs slow or sounds labored in muggy stretches, then runs normally in dry weather.
Watch your door across a full temperature swing before scheduling anything. If the symptom is stable regardless of weather, it’s mechanical. If it’s tied to temperature, note the pattern and tell the technician. That single observation often saves a diagnostic visit, and in a Fountain Square garage where the door faces full afternoon sun, it’s the difference between a five-minute adjustment and a parts order.
If you’ve watched the pattern and decided the door needs eyes on it, our garage door repair team can confirm what’s weather and what’s wear. It’s free to have it looked at, and the estimate comes before any work begins.
The Door Reverses Before Closing: Four Causes in Order
This is the most common call we get, and it has four distinct causes that require completely different fixes. Walk through them in this order. The first one is by far the most frequent:
- Safety sensor obstruction or misalignment. The two photo-eye sensors at the bottom of the track must see each other. A cobweb, a leaf, a garbage can bumped against one, or a lens knocked a few degrees off line will reverse the door every time. Wipe both lenses, check that the indicator lights on both are solid, and confirm nothing is in the beam path. This fixes the majority of reverse-on-close complaints.
- Sensor wiring damage. If the lenses are clean and aligned but one indicator light is dark or flickering, the wiring running down the track may be pinched, chewed, or loose at the terminal. Look for a visible kink or a wire pulled tight against a bracket. Don’t splice it yourself; call it in.
- Travel-limit setting drift. If the door starts down and reverses partway, the opener’s down-limit may have drifted or the force setting may be too low for the door’s actual weight. This is an opener adjustment, not a door adjustment, and it’s where brand familiarity matters. A Chamberlain or Genie unit each has its own adjustment method, and getting it wrong is how people break limit switches.
- Binding door. If the door binds in the track on the way down, the opener senses resistance and reverses as a safety feature. This is a door problem masquerading as an opener problem. The fix is track and roller work, not opener work.
Work through one through four in order and stop as soon as the symptom resolves. Skipping ahead to the opener settings on a sensor problem wastes time; adjusting force settings on a binding door makes the opener work harder and can damage it.
If you get through step two and the door still reverses, that’s a call point. Our garage door opener repair technicians have up to 12 years of experience and work across LiftMaster, Chamberlain, Genie, and Craftsman systems daily, so the adjustment is straightforward once the cause is confirmed.
Diagnosing Noise: Grinding, Squealing, and Banging
Noise is the category where homeowners most often replace the wrong part. The sound itself tells you where to look, but only if you listen for location and timing, not just volume.
- Grinding usually means metal-on-metal contact. If it comes from the track, a roller has lost its bearing or a track is bent. If it comes from above the door, the torsion system is the suspect and you should stop and call.
- Squealing is typically a dry roller or hinge. A little lubricant on the roller stems and hinge pins quiets it, and it usually doesn’t mean the parts are failing.
- Banging or popping at the start of travel often points to a loose hinge, bracket, or spring anchor. Tightening a hinge is fine; touching a spring anchor is not.
- Rattling through the whole cycle usually means loose fasteners somewhere, and tracking down which one means watching the door from the side while it runs.
Here’s the trap from the opening of this guide. A grinding noise from a 10-year-old torsion spring doesn’t mean new rollers. A torsion spring that’s winding down makes a distinctive grind as the coils rub, and it’s a warning that the spring is near failure. If the spring looks stretched, has a visible gap in the coil, or the door has gotten noticeably harder to lift, that noise is the spring, not the rollers. Replace the rollers and you’ve fixed nothing, because the spring is what’s about to fail.
Run the balance test below before assuming any noise means parts replacement. If the door balances well and the noise is a squeal from a roller, lubricate it. If it doesn’t balance and there’s grinding, the spring is the conversation.
We keep parts on hand for common repairs so the fix happens on the same visit, whatever the brand. Clopay, Amarr, and Wayne Dalton doors all use slightly different roller and hinge hardware, and having the right part available means you’re not waiting a week on a shipment.
The Balance Test and What It Tells You
The balance test is the single most useful diagnostic a homeowner can run, because it separates spring and cable problems from opener and track problems in about a minute. Here’s the procedure:
- Close the door and pull the red release cord to disconnect the opener.
- Lift the door by hand to about halfway open.
- Let go.
- A properly balanced door stays put or drifts only slightly. A door that drops fast or won’t stay up has a spring or cable problem. A door that feels very light or rises on its own has too much spring tension.
If the door fails the balance test, stop there. Springs and cables are under extreme tension, and a failing spring can snap without warning. Never attempt to adjust, remove, or replace a torsion spring yourself. This is the one part of the door where the safety risk is real and the injury potential is serious. A trained professional has the winding bars and the procedure to handle it safely, and it’s a job we do routinely because so many generalists won’t touch it.
If the door passes the balance test, the springs are likely fine and your problem lives in the opener, the track, or the sensors. That’s useful information to hand a technician when you call. If the door fails the test, the problem is almost certainly spring or cable related, and that changes the repair entirely.
Spring work also comes with a pricing structure you should understand. A torsion spring replacement for one spring typically runs $180 to $340 in the Fountain Square market. Springs are made in matched pairs, and when one breaks the other is usually close behind, so a matched pair is usually replaced together and costs roughly double the single-spring figure. The written estimate sets the final price, always confirmed before any work starts. When the time comes for the full job, garage door installation is also in scope, so a failing door can be repaired or replaced with one call.
Opener Communication Failures: Remote, Wall Button, and Wi-Fi
Opener communication problems split cleanly in two depending on whether the wall button works. That one test tells you whether the problem is the opener or the remote.
- Wall button works, remote doesn’t. The opener is fine. The problem is the remote battery, the remote’s programming, or interference. Replace the battery first; it’s the cause far more often than anything else. If a fresh battery doesn’t fix it, the remote needs reprogramming, and each brand does it differently. LiftMaster and Chamberlain remotes pair via a learn button; Genie remotes have their own sequence.
- Neither works. The opener itself or its power supply is the issue. Check the breaker and the outlet the opener plugs into. If there’s power and the wall button still does nothing, the opener’s logic board or the safety sensors are the suspects.
- Wi-Fi or app control fails but remotes work. On smart-home openers from LiftMaster, Chamberlain, Genie, or Craftsman, the issue is usually the network connection, not the door. Check the router, then the opener’s network settings.
- Intermittent operation. If the door works sometimes and not others, rule out sensor flicker first, then look at the opener. Intermittent behavior is the hardest to diagnose because you need to observe it while it’s happening.
Fountain Square’s older garages sometimes have wiring runs that have weathered decades of temperature swings, and a loose connection at a wall button or a sensor terminal causes exactly this kind of intermittent behavior. If replacing the battery and re-pairing the remote doesn’t stick, the problem is more likely in the wiring than the remote itself.
Because we work on your brand, we know the programming sequences and the common failure points for each opener family. That turns a frustrating guessing game into a quick diagnosis. For the modern connected-household setup, we handle smart-home opener repair regularly, and the fix is usually not a new opener.
Adjustments That Can Void Your Opener Warranty
Not every adjustment is safe to make, and some of them can void your opener’s warranty if done incorrectly. Here’s what to leave alone, and what to tell a technician if you’ve already tried something.
- Force settings. Turning up the force adjustment to make a heavy door move is the most common DIY mistake. If the door is heavy because a spring is failing, increasing force makes the opener work harder and can burn out the motor or damage the drive gear. It also bypasses a safety feature designed to protect people and property.
- Travel limits. Limit switches are set precisely for your door’s opening. Moving them too far can jam the door or cause it to stop short, and getting the setting wrong can burn out the limit switch itself.
- Safety sensor alignment by bending the bracket. Bending a sensor bracket to force alignment looks like a fix and isn’t, because a bent bracket puts the sensor out of alignment in a way that shows up later.
- Reprogramming smart-home openers during a network change. Resetting an opener to factory settings to fix a Wi-Fi problem can wipe the remote pairings and the travel limits with it, turning a quick fix into a multi-step re-setup.
If you’ve already tried something and the symptom changed or got worse, say so when you call. Tell the technician which setting you moved and roughly how far. That single sentence saves diagnostic time and prevents a technician from chasing a problem you’ve already half-solved. We work on eight of the most common brands, so whatever opener is in your Fountain Square garage, we’ll know its adjustment scheme and how far off it may be.
If you’re unsure whether an adjustment is safe, the answer is usually to call before you turn the screw. A five-minute phone conversation beats a damaged opener.
The Exact Stop Points Where You Call a Pro
Knowing when to stop is a skill. These are the moments where a homeowner should put down the tools and call, because continuing is how an $80 repair becomes a $400 one:
- Any time a spring or cable is involved. If the door fails the balance test, you stop. Springs are under extreme tension, and this is where injury happens. Don’t touch it.
- If the door is visibly crooked or off-track. A door that’s jumped its track is under load and can fall. Don’t force it back by hand.
- Any high-voltage opener wiring. If you need to open the opener housing to reach the terminals, stop. That’s electrical work.
- After two adjustments that didn’t fix the symptom. If a second attempt doesn’t resolve it, the first diagnosis was wrong. More attempts on the wrong cause cause damage.
- If you’ve voided a warranty trying something. Call and explain what you did. Better to sort it out now than to compound it.
- If the door is heavier than it was and getting worse. A worsening balance issue is a failing spring, and it fails faster than people expect.
The general rule: if the fix involves the springs, the cables, the balance of the door, or opening the opener’s electrical housing, that’s a professional job. If it’s track alignment, sensor lenses, remote batteries, or lubrication, you can handle it. That line is bright and it doesn’t move.
Common Mistakes to Avoid
- Replacing rollers for a spring noise. The grinding from a winding-down torsion spring sounds like a roller problem but isn’t. New rollers don’t fix a spring that’s about to snap, and you’ve spent money on parts while the real failure keeps building.
- Increasing opener force to lift a heavy door. A door that’s gotten harder to lift has a balance problem, and increasing force overloads the motor instead of fixing the cause. This is the most common cause of burned-out openers we diagnose.
- Ignoring the seasonal pattern. A door that binds only in cold weather or only in humid stretches is reacting to temperature, not failing. Scheduling a repair for a weather-driven symptom means paying for an adjustment to a door that was never broken.
- Bending sensor brackets to force alignment. It looks like the problem is solved and it isn’t. Bent brackets come back out of alignment, and the reversal returns.
- Resetting a smart opener to factory settings. Clearing a Wi-Fi hiccup this way wipes remote pairings and travel limits, turning a network issue into a full re-setup. Check the network first.
- Forcing a door that’s jumped its track. A misaligned door is under load and can fall. Don’t try to lift or wrestle it back into the track yourself.
- Running the door on a failing spring. Every cycle stretches a failing spring closer to snapping, and a snapped spring can damage the door and the opener. If the door fails the balance test, stop cycling it.
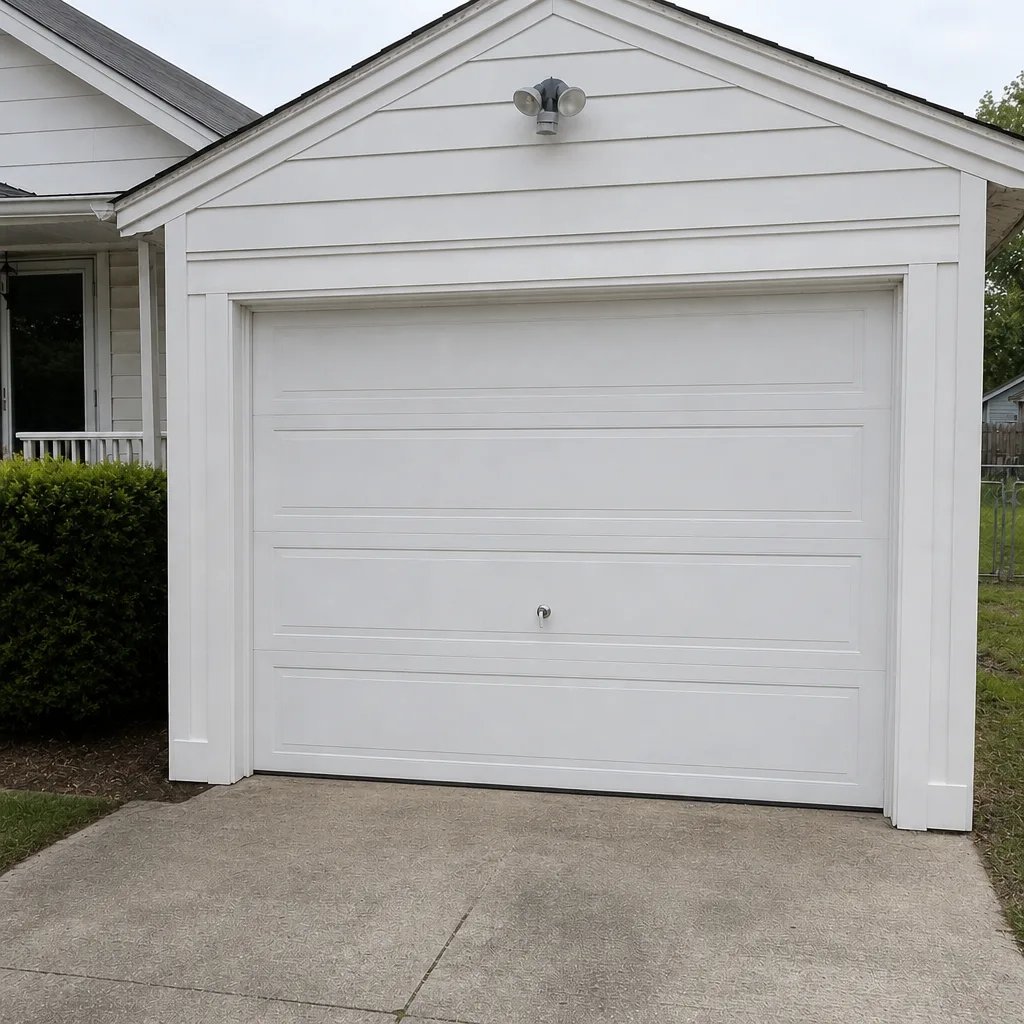
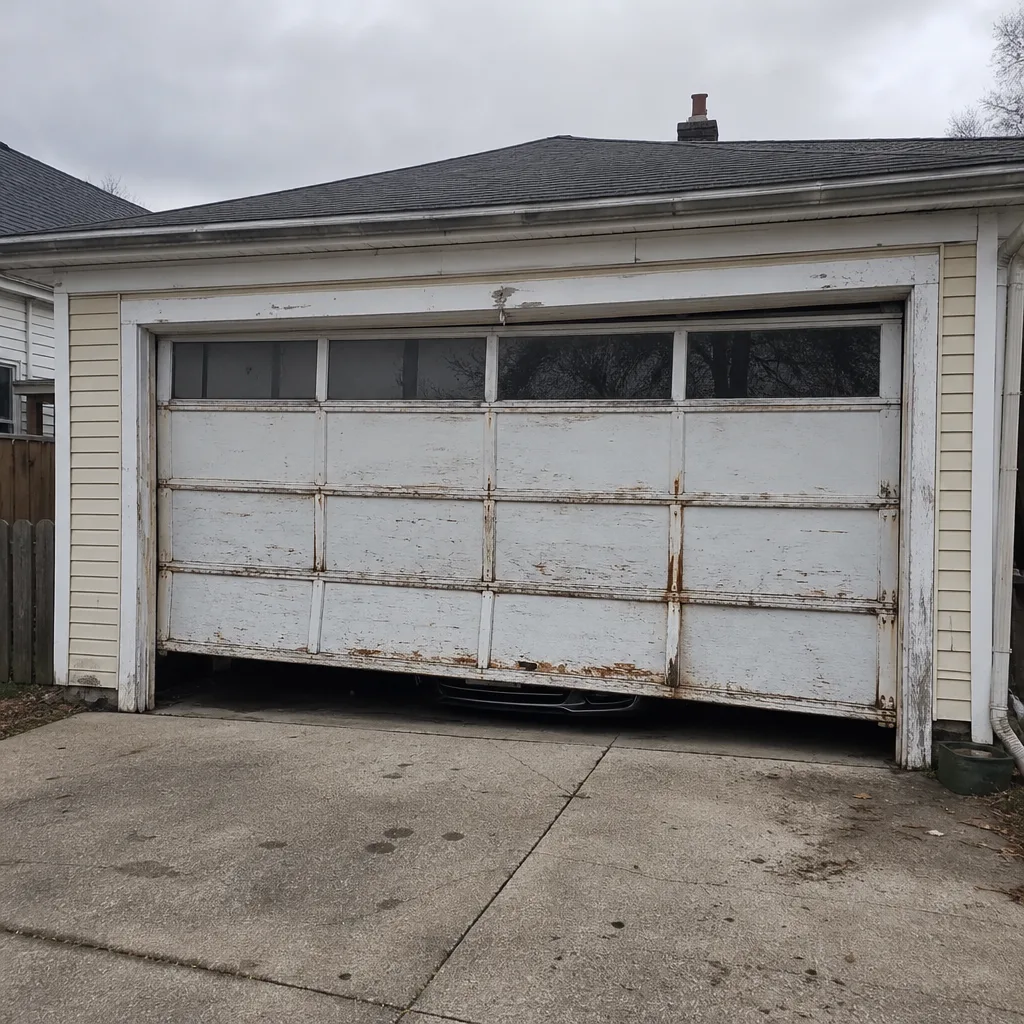
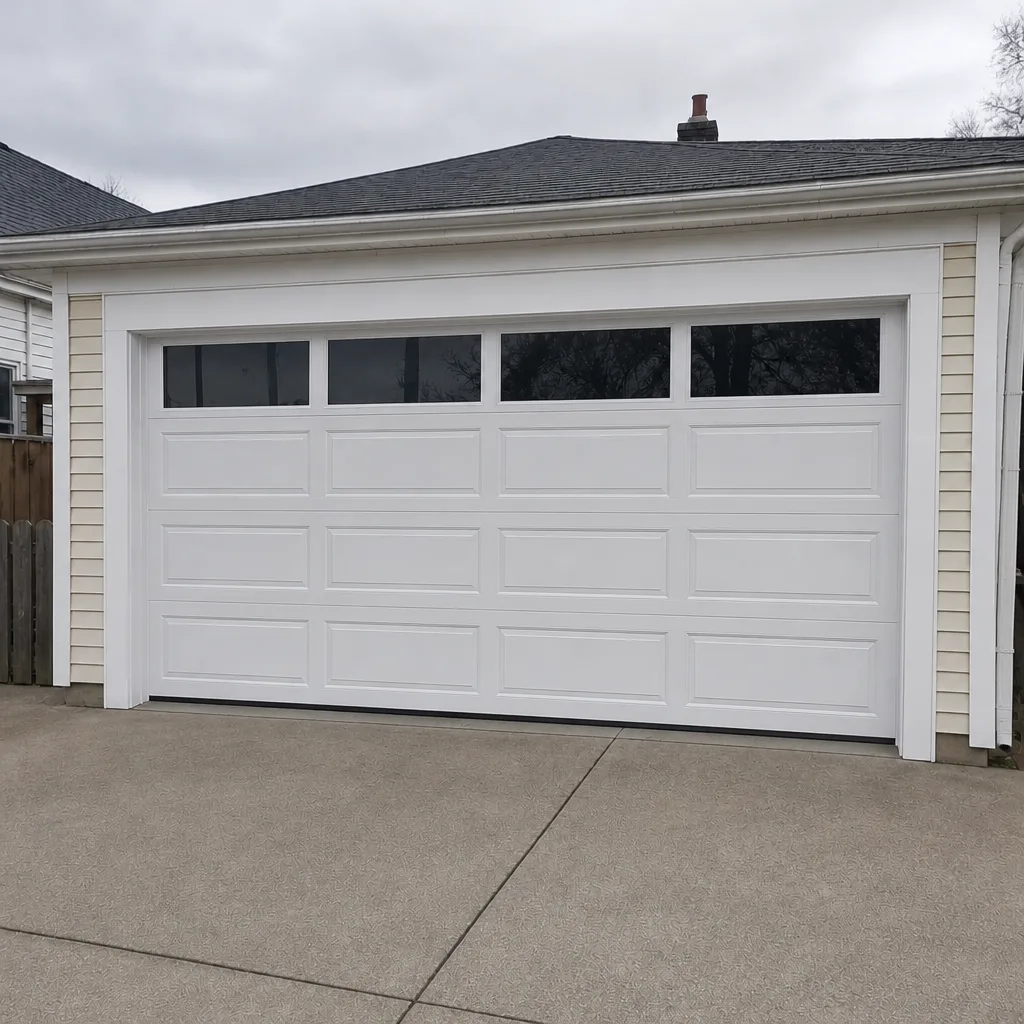
See the difference
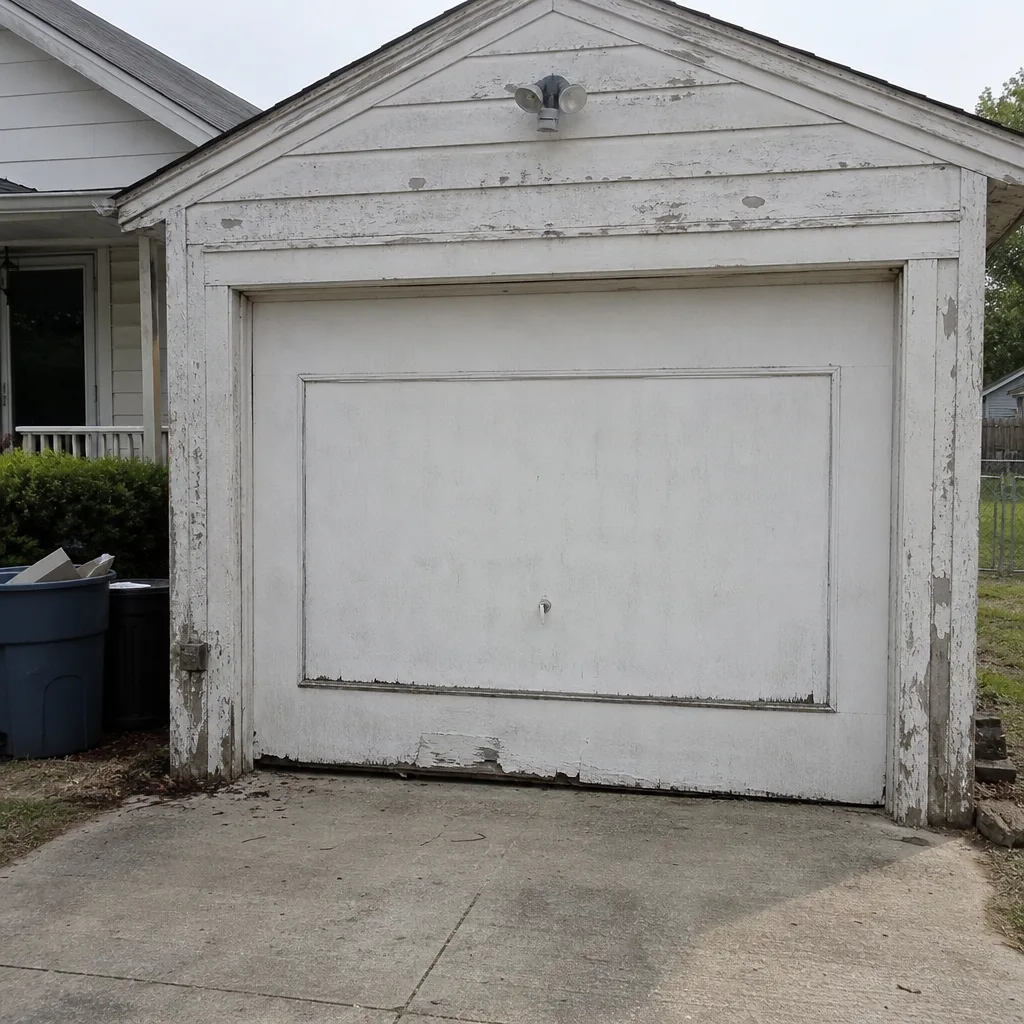 Before
 After
 Before
 After
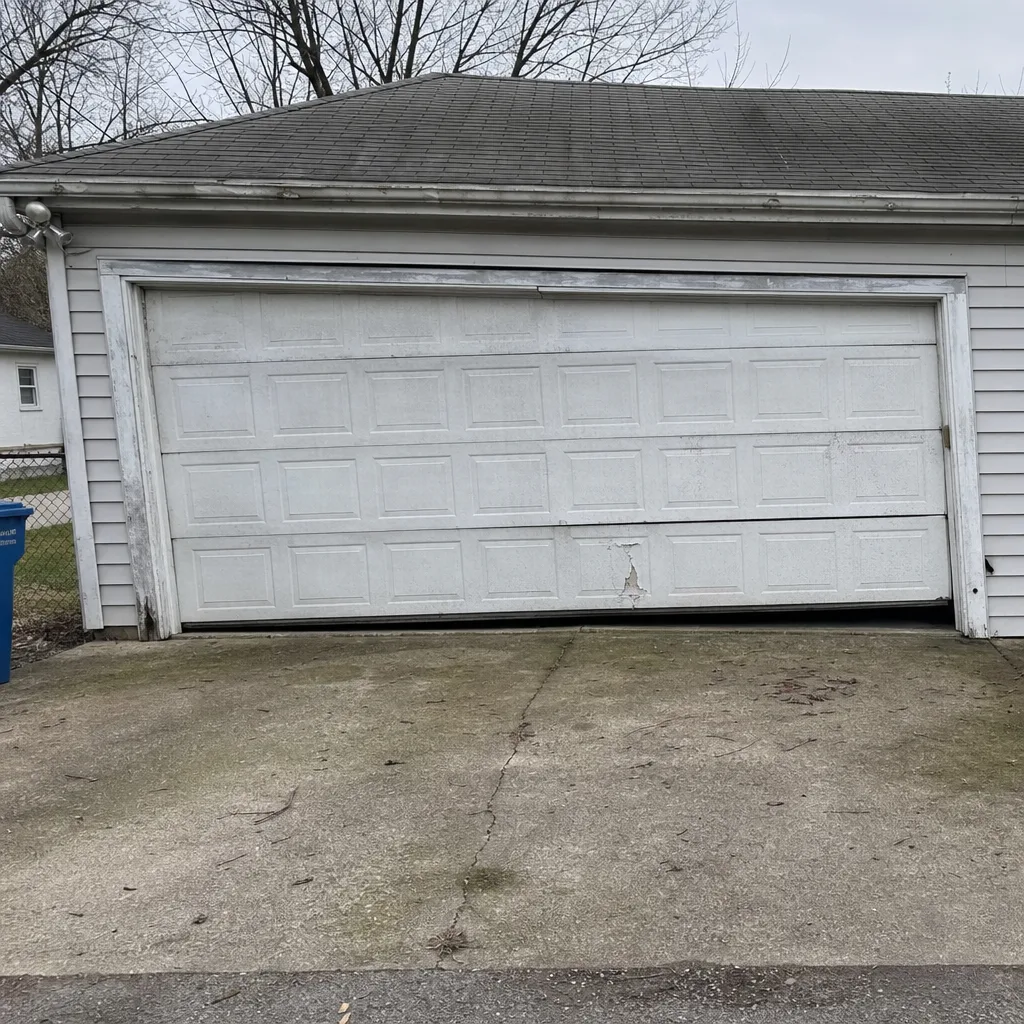 Before
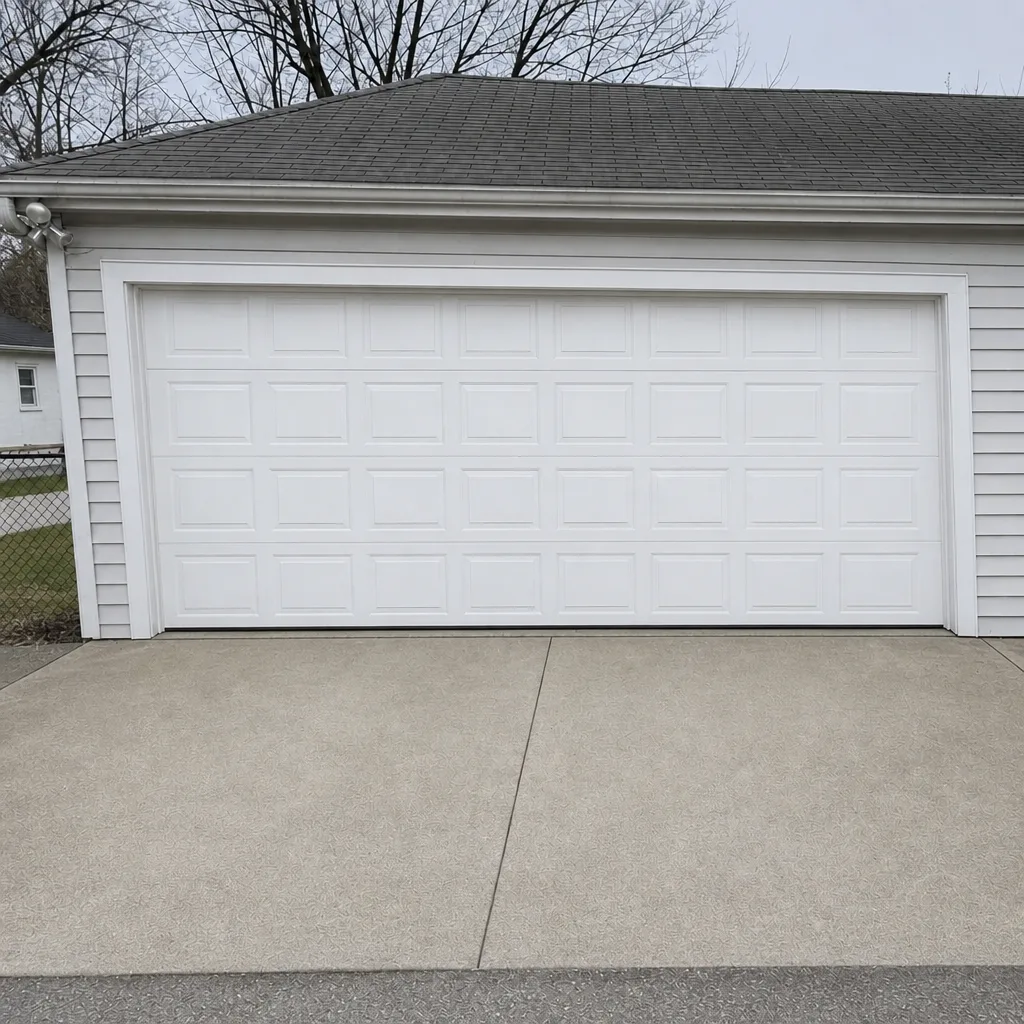 After
When to Call a Professional
Call a professional the moment the problem touches a spring, a cable, the door’s balance, or the opener’s high-voltage side. Those are the four places where homeowner fixes go wrong and where the safety risk is real. Also call if the door reverses after you’ve cleaned and aligned the sensors, if a track is visibly bent, or if you’ve made two adjustments that didn’t hold. Our technicians have up to 12 years of experience and carry common parts, so a same-visit fix is the normal outcome rather than the exception. We cover Chamberlain, LiftMaster, Genie, and Craftsman openers as well as Clopay, Amarr, Wayne Dalton, and Raynor doors. Garage Door Repair Fountain Square offers free estimates in Fountain Square. Call (877) 335-6376, and the price is quoted and agreed before any work starts.
Frequently Asked Questions
Nine times out of ten it’s the safety sensors. A dirty lens, a misaligned photo-eye, or an object in the beam path causes the door to reverse every time. Clean and align both sensors first. If that doesn’t fix it, the next suspects are sensor wiring, the opener’s travel limits, and a binding door. Call (877) 335-6376 if the sensor fix doesn’t hold.
A single torsion spring replacement typically runs $180 to $340 in the Fountain Square market. Springs come as matched pairs and are usually replaced together, so a pair runs about double that. We confirm the written estimate before any work starts, so there’s no surprise on the invoice. Call (877) 335-6376 for an exact quote; estimates are free.
No. Torsion springs are under extreme tension and can cause serious injury if handled without the right tools and training. This is the one part of the door where homeowner repair is genuinely dangerous. Call a professional for any spring or cable work.
No. The price is quoted and agreed before any work starts. If the diagnosis during the visit reveals a different problem than expected, we explain it and provide a revised written estimate before proceeding. You don’t get an invoice larger than the quote you agreed to.
Probably not. Cold temperatures contract metal and reduce spring tension, so a door that binds in the morning and runs fine later is reacting to weather, not failing. Watch the pattern across a few days before scheduling a repair. If the symptom is constant regardless of temperature, that’s when to call.
The local professionals we connect you with are licensed and insured as their state requires. Our technicians have up to 12 years of experience working across the major garage door and opener brands. Call (877) 335-6376 with questions about credentials or to book an estimate.
The Bottom Line
Garage door troubleshooting comes down to category first and part second. Figure out whether you’ve got a movement, noise, communication, balance, sensor, or weather problem, then run the matching test. That practice alone prevents most of the wasted money we see. Springs, cables, and high-voltage opener work always belong with a professional, and the balance test is your fastest way to know whether you’re in that territory. Everything else, from sensor lenses to remote batteries, is usually a home fix. When your door needs a trained eye, call (877) 335-6376 for a free estimate in Fountain Square.
Written by the team at Garage Door Repair Fountain Square.